Wednesday, August 01, 2012

one way to make bias binding

Thanks for all the response on the binding choice! It was a very close call between A and F, but in the end I chose A, cut on the bias.

Since I was making bias binding, I thought I would snap a few photos of the process along the way and share them here. This is one way to do it. A few of the photos are a bit less than stellar-sorry!-but you should still get the idea.
First, lay your fabric square on your cutting mat. Trim the left and right sides so the fabric is squared up.
Trim off the selvages as well.
Line up a ruler (or two rulers end to end if one ruler isn't long enough) on the 45 degree angle of your cutting mat. Carefully make your first cut.
Tip: The photo doesn't show this, but in order to maximize your fabric, line up the top left corner of your fabric right on the 45 degree angle line. You will get nice 45 degree angles on the ends of your fabric and no odd bits to trim off those ends.
Move your ruler(s) and either flip up or set aside the triangle (the piece on the top right hand side), but don't discard. It will be used later. Then, line up the ruler on the line that you just cut and measure the width of your binding strips. I cut mine 2.25" wide. Make as many cuts as you can from the fabric. I tend to move my fabric several times throughout this process. I've heard that once you make a cut in your fabric you shouldn't move it from that place on your cutting mat, but I do. I guess I am a rebel that way. I just make sure that the edges are lined up accurately before each cut. Repeat these steps for the triangle that you set aside previously.
Once all your fabric is cut up, take two strips and prepare to join them end to end. The nice thing about bias binding strips is the ends are already mitered for you.
Since you are sewing on an angle, you will need to offset the binding strips just a bit. Pin. When you sew up the seam, if it is lined up correctly, you should be able to sew from notch to notch and get a perfect 1/4" seam. Flip the strip the right, and press. If the binding strip is offset at all (not in a straight line) rip the stitches and sew it again. It takes a bit of practice to get this just right, but it's not too bad, either. A few strips and you should be a pro.
Most of the strips will join together just fine, but when you have two ends that look like this, they won't miter together.
So, you have to line up your ruler as shown above. Use the 45 degree angle line on the ruler and make a cut. Set the triangle aside as a scrap or discard.
 Now the two ends should be ready to miter. Repeat as directed in the steps above.
 Once all the binding strips are joined together, fold in half lengthwise and press well.
Attach the binding as you would normally. (You can see my in depth binding tutorial here.)
When you get to the ends...your strips will probably look something like this.
 Trim one end at a 90 degree angle.
Measure an overlap that equals the binding width. In this case 2.25" wide. 
Trim.
Open up the ends of the binding strips.
On the left hand strip, fold the end and finger press as shown in the photo. This fold will be your sewing line. Mark it with a water soluble marker if desired.
Pin and sew on the line/fold.
Use a scissors to trim off the triangles, leaving a 1/4" seam allowance. Finger press the seam and line up the binding to the edge of the quilt. Sew into place.
After I attach the binding to the quilt, I like to trim off the excess backing and batting with a pinking shears. I like to leave just a bit of fabric and batting beyond the edge so the binding will be nice and full after hand stitching it down to the back.

If you have any questions about bias binding, I'll try to answer them in the comments.

Monday, July 30, 2012

so many options

Last week while my kiddos were out of the house for a few days I was able to get some serious quilting done. It felt so good! One of the quilts that I was able to baste and quilt was my low volume one. One advantage to this quilt was the easy thread choice for quilting. Using white was a no-brainer. It blended with all the fabrics so nicely. What a bonus!

Now it's time to choose a binding fabric. I am quite on the fence, so I thought I'd ask you for your two cents.
Choice A,  1934 by Cosmo Cricket for Moda

Choice B, Baby Talk by David Walker for Free Spirit

Choice C, Building Blocks by American Jane Patterns-Sandy Klop

Choice D, Basic Grey/eva for Moda

Choice E, Barbara Jones of Quilt Soup for Henry Glass (I believe it's Barbara....the selvage edge of the fabric I have just starts with Jones, but i'm fairly certain it's Barbara Jones...)

Choice F, Red Gingham (woven) by Moda, which I would cut on the bias.

Oh, I should probably add, the backing is made up of 3 panels of these fabrics....

So, what binding fabric would YOU choose?

Wednesday, July 25, 2012

window panes

This quilt has been finished for about a month now and we've been using it on our bed. Or I should say, we've been kicking it down to the foot of the bed every night because it's been so hot!
The fabric is cotton lawn, which seems extremely delicate and fragile, but in working with it, I've found that it isn't fussy in the least. It's so soft and it makes a great quilt! I mixed it with regular ol' quilting cotton (for the sashing) and the combination of the two worked surprisingly well.
I stippled the whole thing on my wonderful JUKI, and other than it taking me the better part of a week to quilt it, things went super well. I had been warned by a few people that the mixing of fabric weights could spell trouble with the thread tension, but I had no problems with that. Just another reason to love my JUKI! :) I should add, the texture after quilting this, front and back, is absolutely won-der-ful.
Since the fabric is 52" wide, I was able to use just two pieces for the back-on a king size quilt! That was sweet, let me tell you! It almost makes up for the fact that I pieced my batting unnecessarily. (I thought my quilt was longer than 90", so I pieced a 3" strip to the bottom of the batting, and when I laid out the quilt for basting, it fell short of where I connected it together by about 1". I was soooo disgusted that I pieced a length of batting 105" for nothing!  Doh!)
I used one of the prints from the line to bind it. What a treat it was to hand stitch through the lawn fabric. The needle glided right through and the stitches virtually disappeared, giving it a flawless finish...which I'll take any day of the week! It was so fun to hand stitch the binding.

My husband told me that this is one of his favorite quilts that I've ever made, which is so sweet. He loves the pattern....I guess it really appeals to his symmetrical sensibilities. :) I just love it because it's so darn pretty!

Now I just have to figure out what to do for the shams....history shows that can take me from 6-9 months. I'm hoping for a burst of inspiration much sooner this time.

Fabrics:
Prints-Matusri cotton lawn from Connecting Threads (I used 19 out of the 20 fat quarters from the sampler)
Pattern:
Free Tutorial, by Ashley of Film in the Fridge
Finished Size:
98" x 89"

Tuesday, July 24, 2012

bits of business

I'm excited to tell you that Tara and I are gearing up for our 4th annual (!!!!) quilt retreat at Inn at City Park in Fort Collins, CO. This year I'll be teaching a scrap management workshop. (I can't wait!) The dates are November 9-11, 2012. The workshop will be limited to 12 students. You can read all the details here. Tara puts together a 'rockin' awesome' (to quote my 6 year old) retreat, so it should be a great weekend!
I also wanted to remind you that the deadline for the Project Hope blocks for Margaret's Hope Chest is July 30th...which is coming up very soon! If you have time to make a few blocks and send them along to MHC, it would be much appreciated. For those of you who have already helped and contributed, thank you SO MUCH! If you live in or around the Grand Rapids, Michigan area, save the date August 25th, 2012. MHC will be having a work party where we (that includes me!) will be sewing the blocks into quilt tops. It should be productive and fun! You can find a few more details here.

I've had a lot of people tell me how much they miss Finish It Up Friday. I'm planning on starting the series back up in the fall. I'm delighted that so many of you enjoyed the Friday Finishes so much. I happen to be drowning in WIP's, so I'll need the challenge myself. :)
I've added book plates to my shop. They will be signed by both Cheryl and myself and we will ship internationally. (A side note...it appears that Amazon FINALLY has our book back in stock. The books have been reprinted and are making their way into stores again, too. Yipee!)

I've finally added an upcoming events page to my blog. I've got lots coming up, so check it out! Some teaching stuff. Some trunk shows. Lots of fun!

On a personal note...my kids are gone this week and I have big sewing plans. I hope to even blog about my progress! Hee hee. Here's hoping!!!

Sunday, July 22, 2012

scrappy Sundays-our cover girl

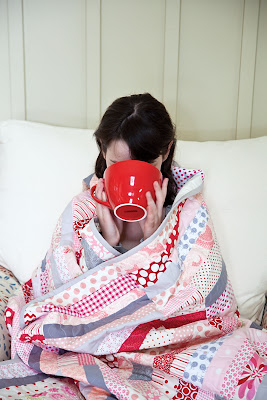
Today Cheryl and I are wrapping things up in our scrappy Sunday series. We wanted to share the story of our cover girl, Sarah. When I've been out speaking about the book, a question that I get asked a lot is: "is that your daughter on the cover? or Cheryl's?" The answer is "nope!"
Sarah, the girl on the cover of our book, is the niece of a friend of Ruthmary Schauer, who is an account representative at C&T. When the photography folks were prepping for the photo shoot, there was a call for children who lived in that particular area. Ruthmary thought of Sarah and called on her to help. Sarah is a quiet and shy girl, not a model at all. At least she wasn't before this! We heard that it was a great boost to her self esteem and it ended up being a very good experience for her. (We think she did a fabulous job!)  Several of the folks at C&T who worked on the book signed a copy for Sarah. It was neat for Cheryl and myself to sign it for her as well when we were at quilt market. Thanks to Sarah in California, for being our cover girl and being a model for our book!
I'd like to say thanks to all of you for reading and following along with our scrappy Sundays posts! I hope that it was interesting to read some of the behind the scenes stuff involving our book. It was fun to share it with you!
isn't this a great photo? it's one of my favorites from the book!
To wrap things up, we'd like to host a linky party. If you made a quilt or project from the book, post about it and link up here. If you've already posted about it on your blog, just go ahead and link up! If you are just getting started, we'd love to see your scrap sorting/progress on scrap management. We would love to hear any scrappy testimonials you may have to share or any progress photos you may have. We want to see your scraps! There may be a few prizes up for grabs, too. If you needed a little incentive to join in. :) The linky party will close next Saturday night, July 28th.


Sunday, July 15, 2012

scrappy Sundays-alternates

Today Cheryl and I wanted to share a few of our alternate quilts from the book. We are both sewing up each other's quilts, which is quite fun! And shockingly enough, we haven't run out of scraps yet! :)
Just this morning I finished up this quilt top...my version of Cheryl's Sunday Morning pattern. I. LOVE. this. quilt. It measures 70"x90".  
This is an alternate of the splash quilt (you can see the original here). I sewed this one up as a triple check of the pattern instructions. (That's the danger of making a quilt improv style and THEN writing the pattern. But I'd do it all over again.) It's fun to have the quilt made up in different color ways. I've been a pink and green girl for a long time, so this quilt feels very "me".
And last, but not least, this is my version of Cheryl's Grass quilt. I used my strings to make horizontal sashing strips rather than vertical sashing. I'm calling this one Summertime.
For the back, I used some soft, pretty fabrics from my stash, in keeping with the easy summer feeling. I love how it came together. My friend Marcia was kind enough to let me quilt it on her long arm. It was awesome to start quilting it at 11:30am, and to have the binding on (machine done, of course) and in the washer by 4pm that afternoon. Lickety split!

If you've sewn up anything from the book, we'd love to see your take on our patterns. Please feel free to upload your photos to the Sunday Morning Quilts flickr group!

Saturday, July 14, 2012

fabric usage

I broke open a whole jelly roll today-just for 2 strips of lavender fabric. Never thought THAT would happen. Ever.

Back in May, when I was at quilt market, I was overwhelmed by the sheer volume of fabric out there. I mean, there was so. much. fabric. Everywhere. And they keep making it. At breakneck speed! I'd like to say that after that experience I'm a changed woman. Ha! It made me want to use my fabric rather than hoard it. When I say hoard, I mean "wait for that *perfect* project for the fabric". You know what I mean, right? Now, I'm not holding my breath or anything...but I'm actually enjoying cutting into my fabric these days. Yippee!!! Something that monumental needs to be documented. :)

On the flip side...and there is always a flip side, don't ya know.
I'm saving smaller pieces than ever. These are mini ticker tape pieces.  Aren't they so darn cute??? The orange polka dot bowl (thanks, Mary!) was just screaming for something special to hold. I think these little bits are it!

Wednesday, July 11, 2012

low volume is fun! and some randomness

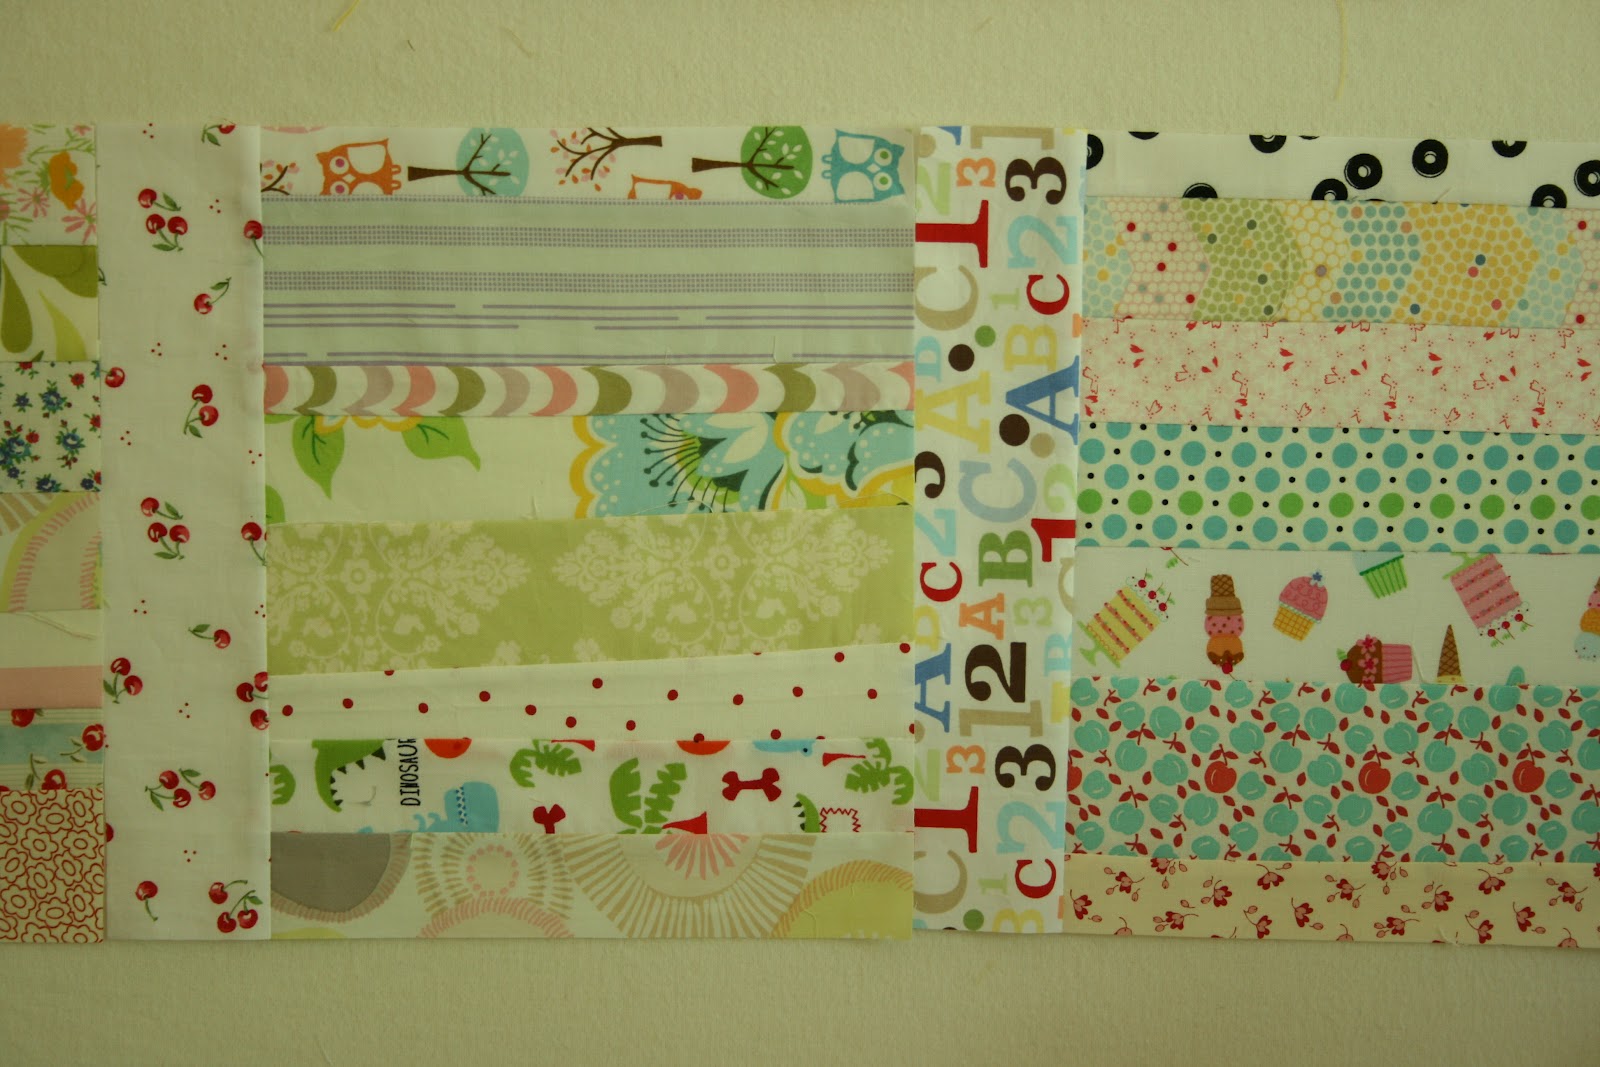
After weeks of mental preparing myself for the challenge, I started a low volume quilt. I'm using Cheryl's fabulous Sunday Morning pattern from the book. (I can't tell you how fun it is to use patterns from your own book. Eeee!) Anyway, I don't know why I thought low volume would be so hard, but it really intimidated me for some reason. Now that I've jumped in, I'm smitten!
Last week before retreat I made a TV tray ironing board. I think I first saw the idea here, but I've seen several versions since. I've been using it to press my strips. It's so nice to have a little table set up rather than the big ironing board taking up all kinds of space in my messy small-ish craft room. It was totally handy to have at retreat, too. (Right Terri?) If you haven't made one yet, I'd highly recommend it!

Here are a few random happenings/thoughts from my daily life........(key word...random!)
I finished my daughter's hello kitty slab and made it into a little doll quilt. I LOVE IT!
Better yet, she does, too! She was so excited to be able to play with it. I am excited to have one less WIP sitting around. :)
(She so badly needs a haircut. sheesh!)
SOMEONE put the wrong dish soap in the dishwasher last night. It's the first time that has happened at my house. I actually thought it was pretty funny! Has that ever happened to you? Seems like something out of a movie....doesn't it?
This is what my son was doing at breakfast this morning. Did I mention that he's only 9? Man, that kid can spell! He amazes me. I sure do love my kids!!!
This is a little pin cushion that I made for a friend over the weekend. I feel a serious pin cushion addiction coming on! (there ARE worse things, right???)

This post only took me just over an hour to write. Woohoo! That is quick for me. How long does it usually take YOU to write a blog post? I'm super curious to know, if you care to share. (see, I told you it was gonna be random. hee. hee.)

Hope you are having a fabulous Wednesday!